

(This post may contain affiliate links. Please read my disclosures for more information.)
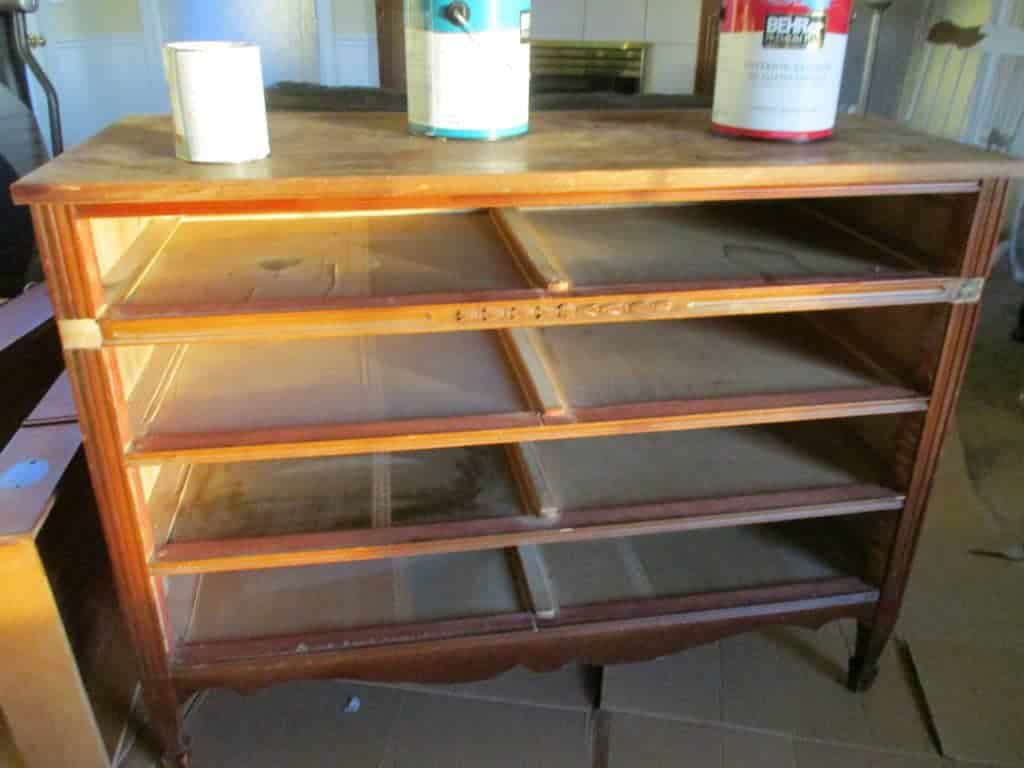
I found this little gem in an old trailer. Can you believe it?
As the previous owners of our home grew older, they spent more and more of their time at their vacation home down south. Eventually they quit spending any time at all up here at this home and left it vacant for a few years and then sold it to us.
I think he probably forgot about all the junk he left here, including a huge semi-trailer full of old tools and miscellaneous junk that took us 7 trips to the dump to dispose of. Thanks bunches, Mr. White. Ha, ha! We did find this old dresser, though.
I was tempted to let it go to the dump along with everything else, because I am innately such a minimalist, and because I needed another project like I needed a hole in the head. But my husband stuck it in the shop area of the garage and stored a stack of bee boxes on it, so I kind of forgot about it.
Three years later, my oldest got married and they needed a dresser. I gave them ours because we hardly used it and didn’t really need it, but then I regretted that it left a visual hole in my bedroom. So I remembered this old dresser and decided to fix it up.
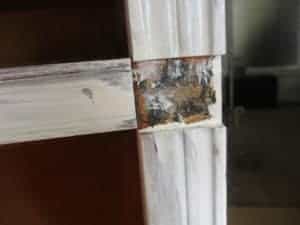
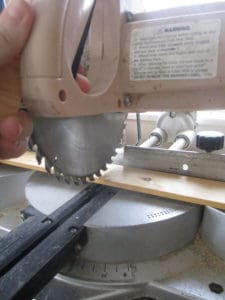
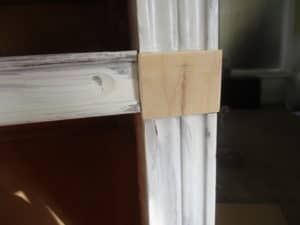
I realize that it’s very old, and that lot’s of people think painting antiques is sacrilege. Sorry, folks! The finish had worn unevenly and it had been abused, and I really just wanted a blue dresser, so I couldn’t stop myself! It also had these two little applique pieces missing, and I wasn’t about to try to restore it. I just hurriedly made little plain squares of fir and glued them in. That’s how I roll.
Now that you have the backstory, let’s talk about painting technique. Without further ado…
How to paint wood furniture
1. Clean
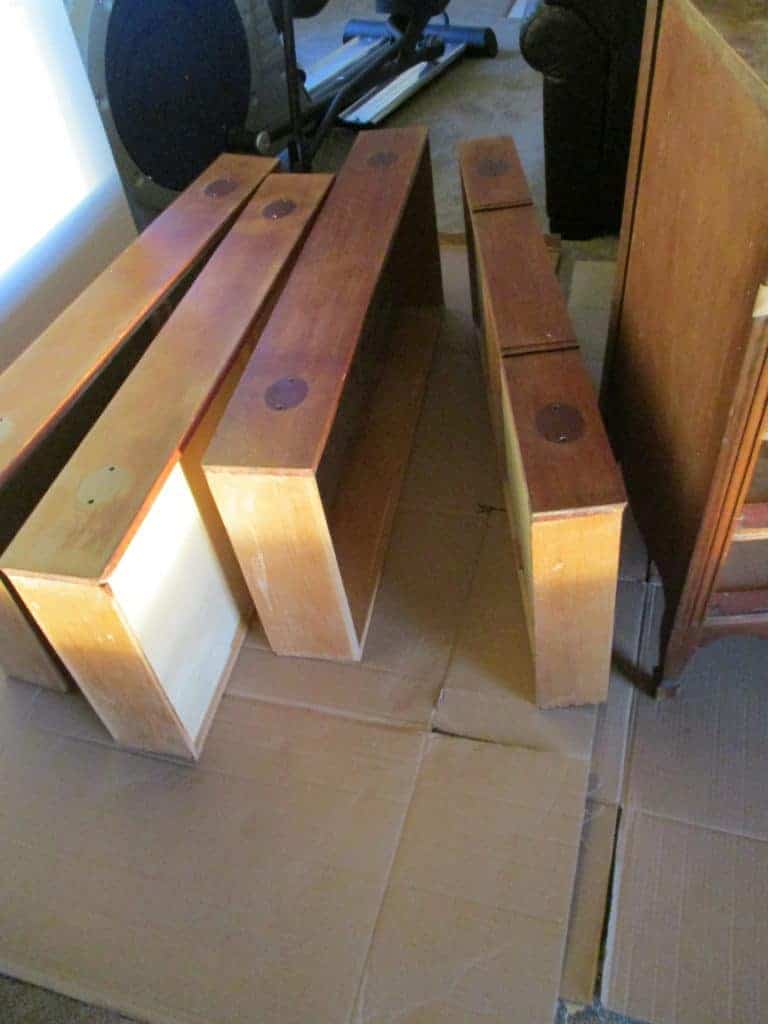
First, remove the hardware. I’ve seen people paint around hardware and hinges and it ain’t pretty! Remove the drawers and set them aside, with the surface-that-shows upright and horizontal. You’ll paint those separately. Now, clean it really well, inside and out! I use water with a dash of liquid dish detergent. You don’t need to worry about the finish at this point.
2. Sand
Sand your furniture with medium-grit sandpaper and get all of the glossy finish off so that the paint will have a good surface to “grab” onto. You don’t need to sand it down to the bare wood. Simply removing the glossy finish will suffice. If the surface is already dull, you can skip this step. After sanding, be sure to dust it really well.
3. Prime
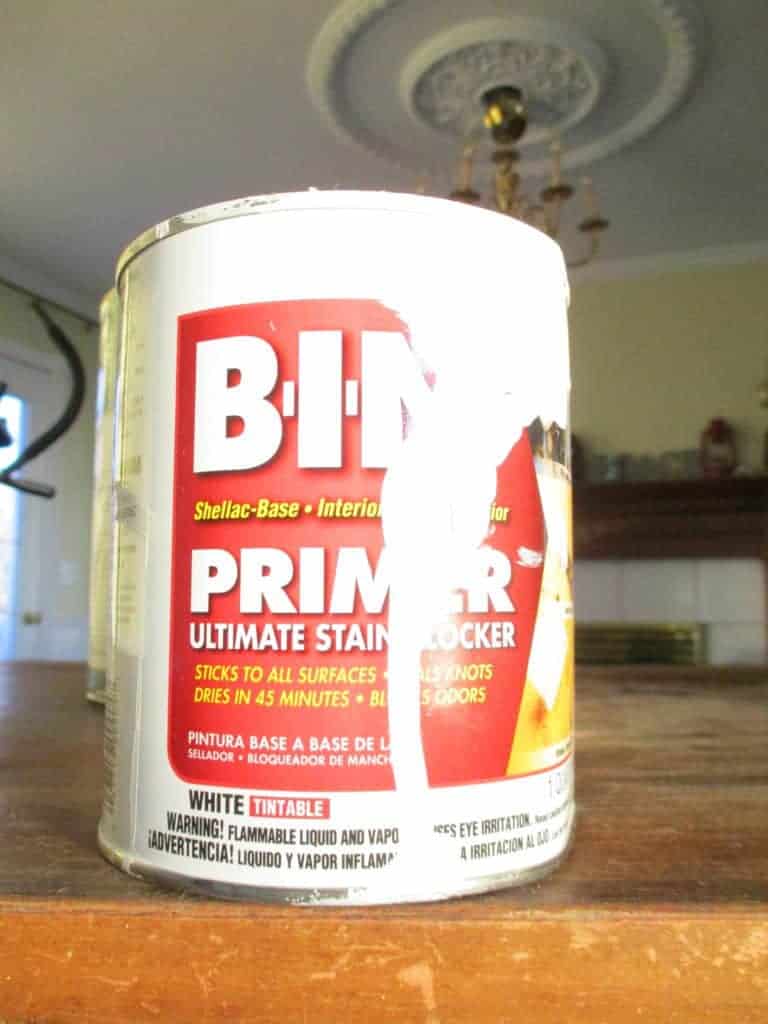
Once your furniture is clean, dry, sanded and dust-free, it’s time to prime. You can’t just slap on a coat of paint and call it a day. It will peel and chip, I promise. My favorite primer is BIN primer by Zinsser, because it is alcohol-based and adheres to everything. Seriously, don’t skip cleaning and priming if you want your project to look nice and last. If you’re going for the shabby chic look, by all means skip the primer, ha, ha!
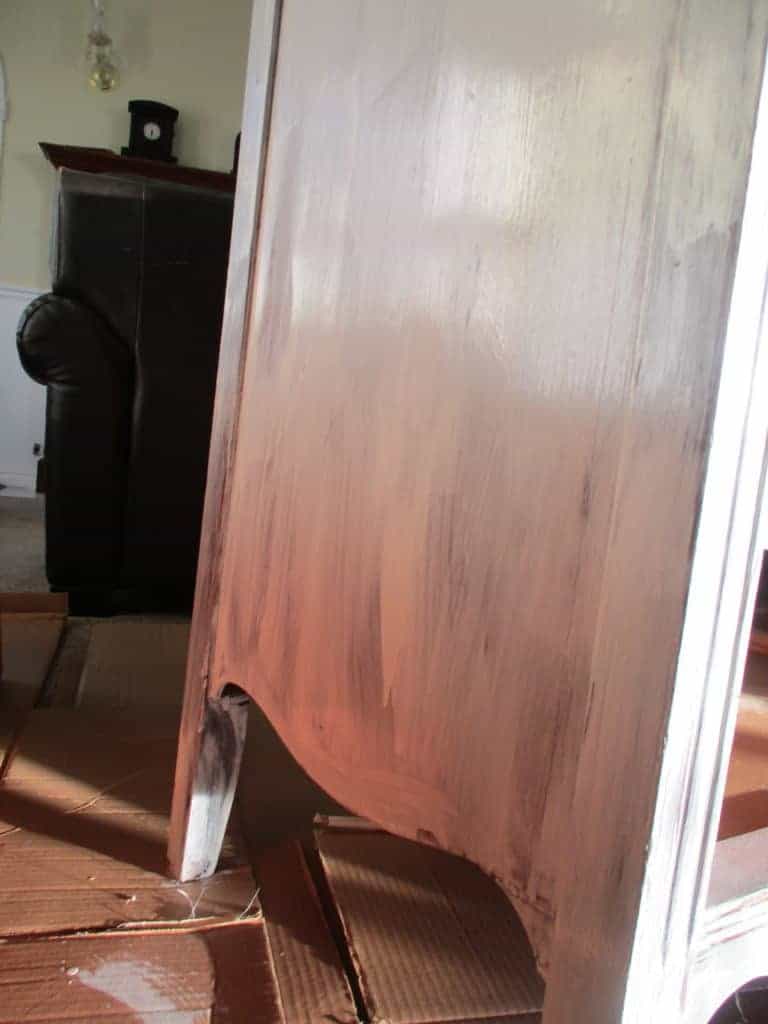
See how the primer in the photo on the right is streaky? No problem. Primer doesn’t have to look great. Just be sure you don’t leave any drips or texture, because you’ll have to sand it off and redo it.
Old varnishes are especially prone to bleeding. It bled through the primer on the top, where the varnish was thicker. I added another coat of primer (I usually just do one coat) to the top in order to really seal that varnish so I won’t have any problems down the road.
4. Sand the primer coat
Using a fine-grit sandpaper, lightly sand the primer coat. In fact, if you want a smooth, professional looking finished product, you should sand lightly between every single coat of paint.
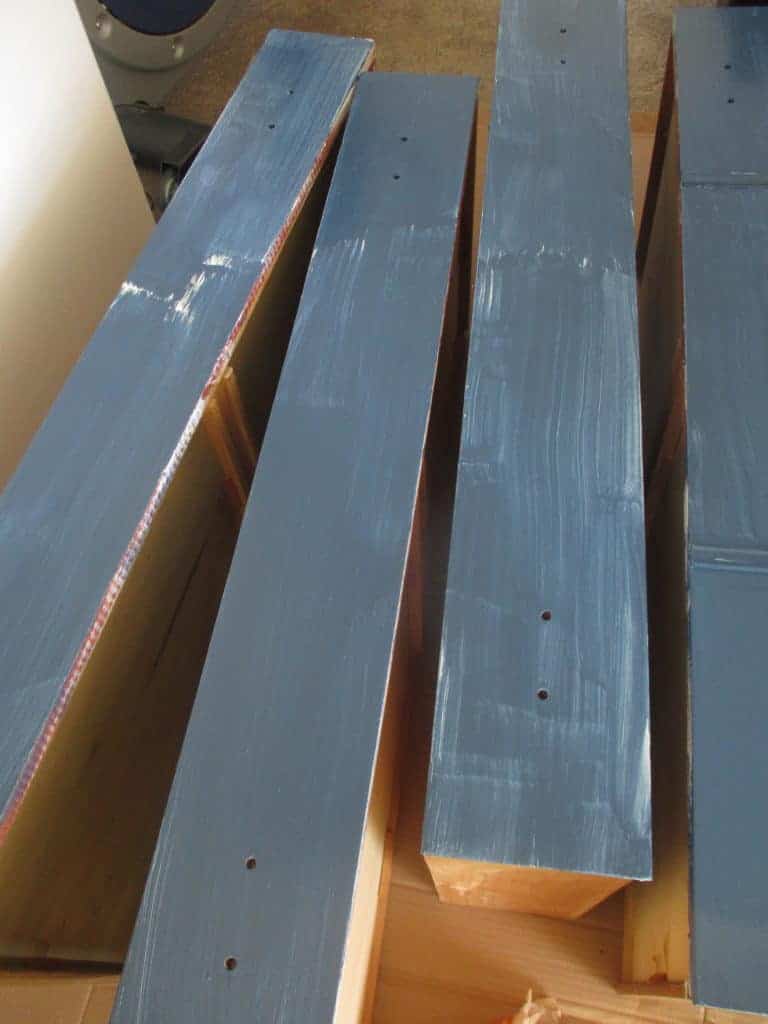
5. Paint
For furniture, I use interior latex in either semi-gloss or gloss enamel finish. The glossier the finish, the easier it will be to clean. Paint thin coats and sand between each coat. The farther your final paint color is from the primer, the more coats you’ll have to paint. So if I paint a piece white after priming it white, I will probably just paint 2 coats. This dresser is a navy blue, however, so it took 4 coats to fully eliminate the streaks.
I like to mix a little Floetrol into the paint before painting when I want a perfectly smooth finish. It makes the paint flow well, so that it naturally levels itself and leaves less texture.


I like to paint all that I can with a small roller brush, in order to eliminate the texture from brush strokes. However, the roller can’t get into corners and crevices, so you’ll have to paint those separately. It’s easiest to paint the crevices first, then finish up with the roller. You could use a paint sprayer, too, or brush it entirely if you don’t mind some texture.

Sand lightly, then coat again until full coverage is reached.
6. Protect
Optimally, I like to leave my newly painted projects in a protected place to sit and cure for at least 30 days. However, that isn’t always possible. When there isn’t time it let a project fully cure, you can seal it with a polyurethane or polycrilic. Polyurethane seems a bit more durable, but it will yellow over time, causing white or light furniture to look yellowish.
After sealing your project, leave it alone for a day or two before use.

Reinstall your hardware, and ta da! You’re done!
Isn’t it beautiful? The ‘visual hole’ in my bedroom is plugged with an old/new navy blue dresser! While I was at it, I painted my old rocking chair, too. My room needed another pop of navy blue.
Paint is such a fun and inexpensive way to rejuvenate old furniture and bring color to your home, all at the same time. Be brave and try that fun color you’ve always wanted! Happy painting! 🙂
Pin these handy instructions for later!


Well done! Tip on taking off the hardware is common sense – but my husband often doesn’t do it…lol…
But I will nag him next time! 🙂
Husbands! If we didn’t love ’em so much… ha, ha!
This is just what I needed! I’m on a mission to paint some dining room chairs and I was feeling overwhelmed with where to start. Thanks!
That sounds like a fun project — good luck!