

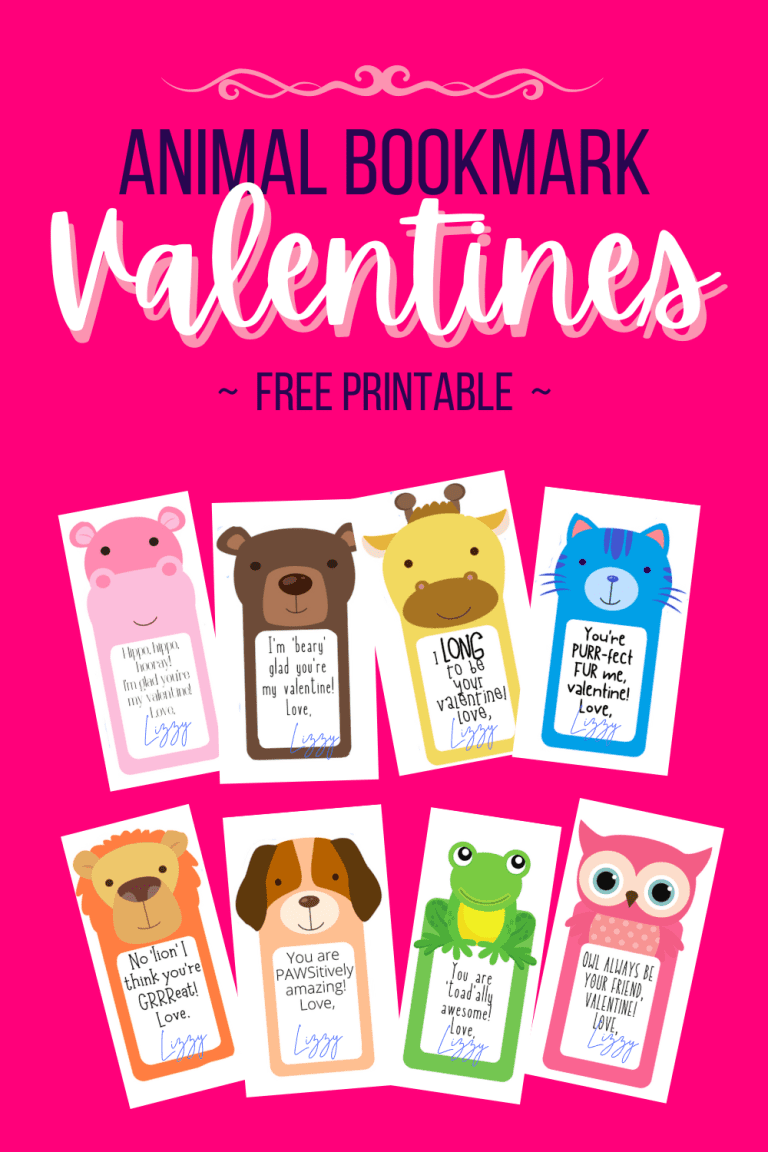
Free Printable Valentines
Aren’t these free, printable valentines adorable?
Since we homeschool, my kiddos don’t have a school class to hand out cards to. I still try to make it special, though. Here are five ways homeschoolers can have some Valentine’s Day fun from my friend, Katie.
We love making Valentine’s cards to hand them out to each other, grandparents and elderly neighbors just so I can feel like my kids aren’t missing out, lol! Since we give only give them out to loved ones, rather than entire classes for each child, I like for them to be homemade.
I like my kids to put thought and time into their valentines and really make the recipient feel special. The Valentines you buy in a box at Walmart and tear along the perforated edges seem blah.
It’s a fun tradition for them to make their Valentines while I read our favorite Valentine’s Day story, Somebody Loves You, Mr. Hatch.
So when the idea for these adorable (free printable) Valentine’s cards popped into my mind, I jumped on it and created the graphics. My children had a blast adding googly eyes (from the dollar store) then turning them into scratch off cards.
These are really easy — keep reading and you’ll see! You probably already have everything you need to make them. If you scroll all the way to the bottom of the post you can download the free printable. Just look for the blue button.
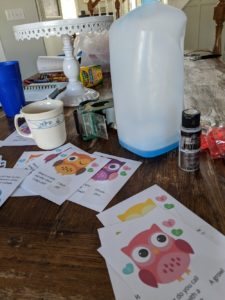 Free Printable Valentines Materials
- Valentines printed on cardstock (download the free printable at the bottom of the page)
- Acrylic Paint (I used metallic silver, thinking it would look more official, but in retrospect I wish I’d used a bright, sparkly pink)
- Dish soap
- Clear tape (packing tape works better here because it’s wider, but multiple strips of scotch tape will also work)
- Wax paper
How to Make Your (free printable) Valentines
1. Print your cards on cardstock and cut the page in quarters with scissors or a paper cutter. Just follow the pink lines. (I added pink lines to the download to make cutting easier AFTER printing ours, so your valentines will have a bright pink border that mine don’t have.
2. Have your child sign the back or write a message right now, as it will be more difficult when the cards are finished.
3. If you want to add googly eyes, now is the time. Most googly eyes are just peel and stick, with the adhesive already on them. If yours aren’t, then just glue them on.
4. Cover the answer to the riddle with clear tape. You only have to cover the portion you plan to paint with the scratch-off solution. The answers on your free printable valentines are small enough that you could keep it simple and just use a rectangular strip of tape. But we thought we’d be fancy and use hearts. We tried just cutting the hearts out of the tape and ended up with a sticky mess. The easiest way, we found, was to cut the hearts out of waxed paper, stick them to the tape, then cut them out, peel the waxed paper off and stick the hearts to the card.

Here’s a photo of our cards at an angle so you can see where the tape is vs. the plain cardstock.

Another change I made to your free printable valentines (after printing my own) was that I made the answer to the riddle a smaller and lighter font. That way it will be less likely to show through the scratch-off paint and you can use fewer layers of paint.
5. Mix paint and dish soap in a ratio of approximately 5 parts paint to 1 part dish soap. It doesn’t have to be exact, but if you add too much dish soap, it will thin your paint out too much and it will take forever to dry, plus it will require extra coats. Also, if you use a light colored paint, you’ll want to use a light colored dish soap, or maybe match the colors — pink paint and pink dish soap.
Combine the paint and dish soap thoroughly. Cover your scratch-off areas with paint. The first layer will look really thin, like in the photos. I ended up using four coats and the last two coats were pretty thick.

See how this paint looks really thin? This is the first coat after drying.

This is after two thin(ish) coats. It’s still pretty transparent. We got serious here and added thicker layers of the paint solution, letting each layer dry completely in between. After 3 coats of paint it’s finally looking opaque. We put on a fourth and final coat after this.

6. After applying the last coat of paint, all you need to do is wait for the paint to dry and then you can add the suckers. Use an exacto or utility knife (or even just a small, sharp kitchen knife) under adult supervision to cut slits on either side of one owl wing. Insert the sucker stick through those slits, and your valentine’s cards are finished!
Finally! You’re ready to scratch! Is that weird to say or what?
Here are our finished Valentines. Aren’t they cute?

We couldn’t wait, we just had to try one right away, so Dad got his valentine early. You’ll be glad to know the scratch-off part worked great!

I hope you have a blast making your own valentines! If you end up making these, I’d love to see a picture of them in the comments below!
Pin these free printable valentines for later!
Don’t forget to click the blue button to download your free printable valentines!


I love your scratch off valentines and I downloaded them so that I could make them for my daughter who teaches the 2-3 years olds at our Church. I will make one change to your cards and I will fix a heart shaped sucker to the answer to cover it. We have found the kids she works with have a tendency to put everything in their mouths and I thought that would be a better way for us to make the cards.
Thank you so much for sharing them
What a fun idea to make for the little kids! Pamela (comment below) said she is going to do the same thing and use a sucker to cover the answers to the riddles. I’m glad you could use the free printable valentines!
Thank you, These are really cute! i’m going to try to get heart suckers the right size to cover the answers and skip the paint part and let them hang down from the wing. Thanks again. Pam
Now that’s a cute idea and super easy! I want to see how they turn out!